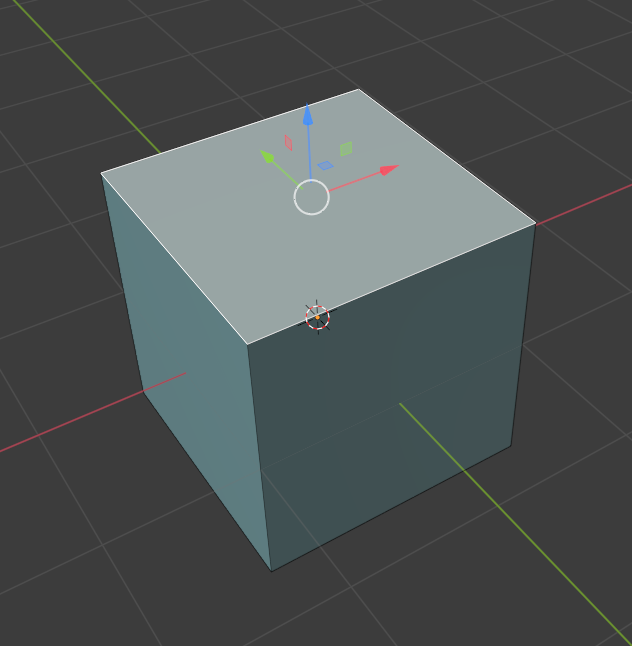
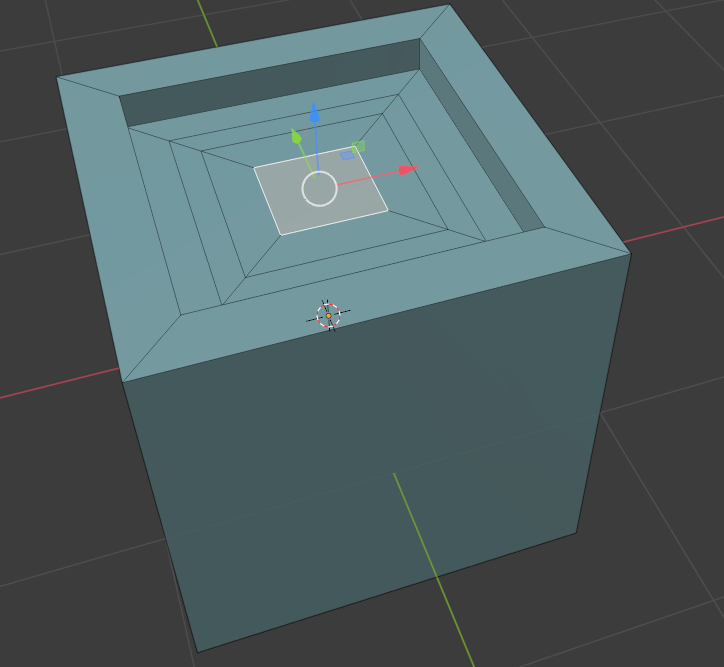
The inset tool in Blender works in Edit mode… You can select a face, using the face tool, or you can select multiple adjacent faces, then press the “I” key while your mouse cursor is in the 3d viewport.

After selecting the face or faces, and then pressing the “I” key, you can move your mouse to adjust the amount of inset you wish to apply to your model. Once you are happy with the inset, simply ‘Right Click’ the mouse button to make it permanent.

If you want to reverse the inset, simply press Control-Z or Command-Z on a Mac.


